... and it's never just one pen either, it's always a few. This time, we're building 4 new pens.
In order to house Yolanda and Yorick, our two new Meishan piglets, when they arrive, we need another pen. However, we like to try to build with the future in mind, and so we are building four new pens rather than just the one we need. To better spread out the cost, we're trying to build them one at a time, or at least only partially build them and just complete the one we need right now.
Thinking of the Future
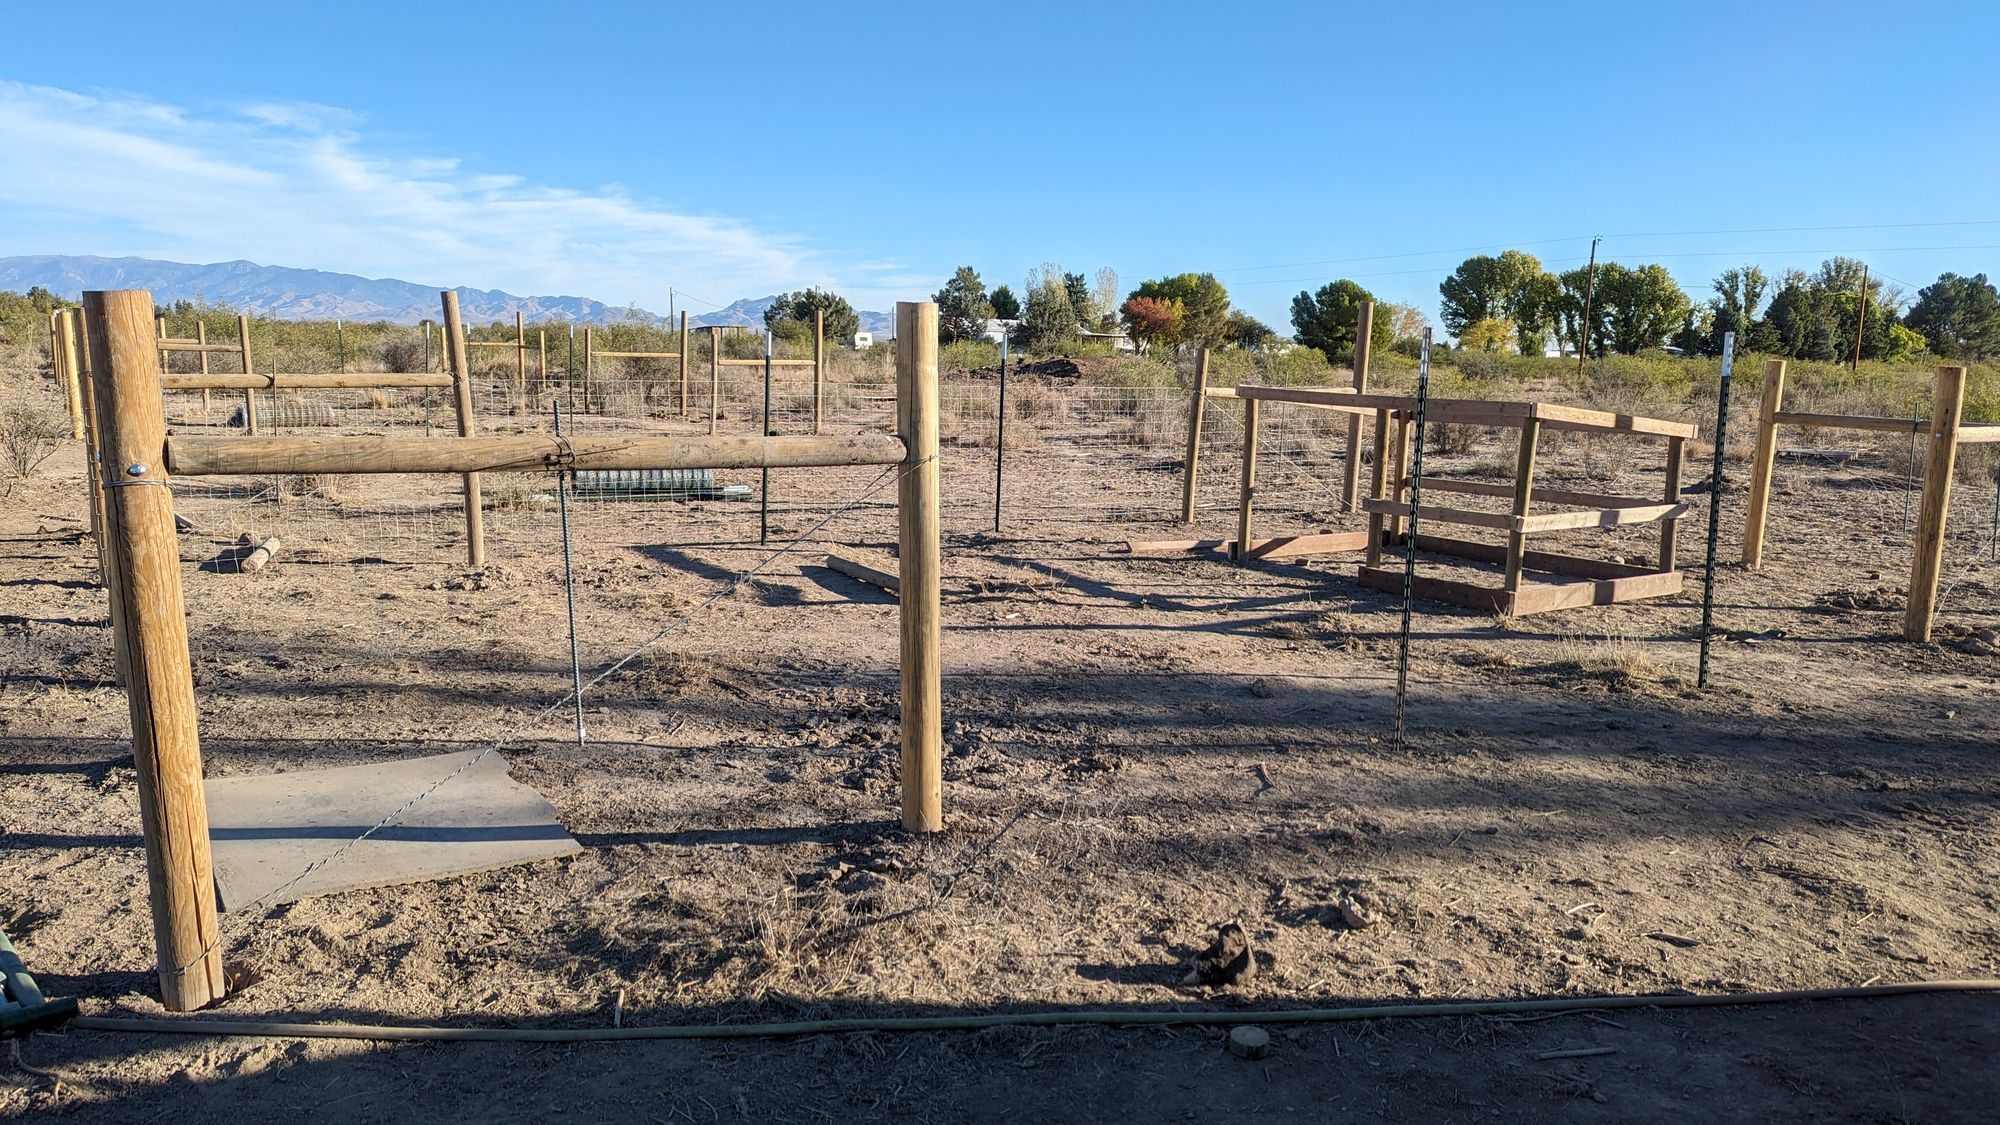
Meishans have large litters - with an average of 16 piglets in a litter, we will need a lot of space for the piglets! With this in mind, we have planned out two smaller pens for the boars and two larger pens for barrows and gilts after they're weaned.
We have also made the fence posts on the back side of the pens 7 feet high instead of 5 feet like the rest of the posts. We would like to add emus to our greater "menagerie" in a year or two's time and they need high fences to prevent them from jumping out. Hopefully 7 feet high is enough.
Building in Phases
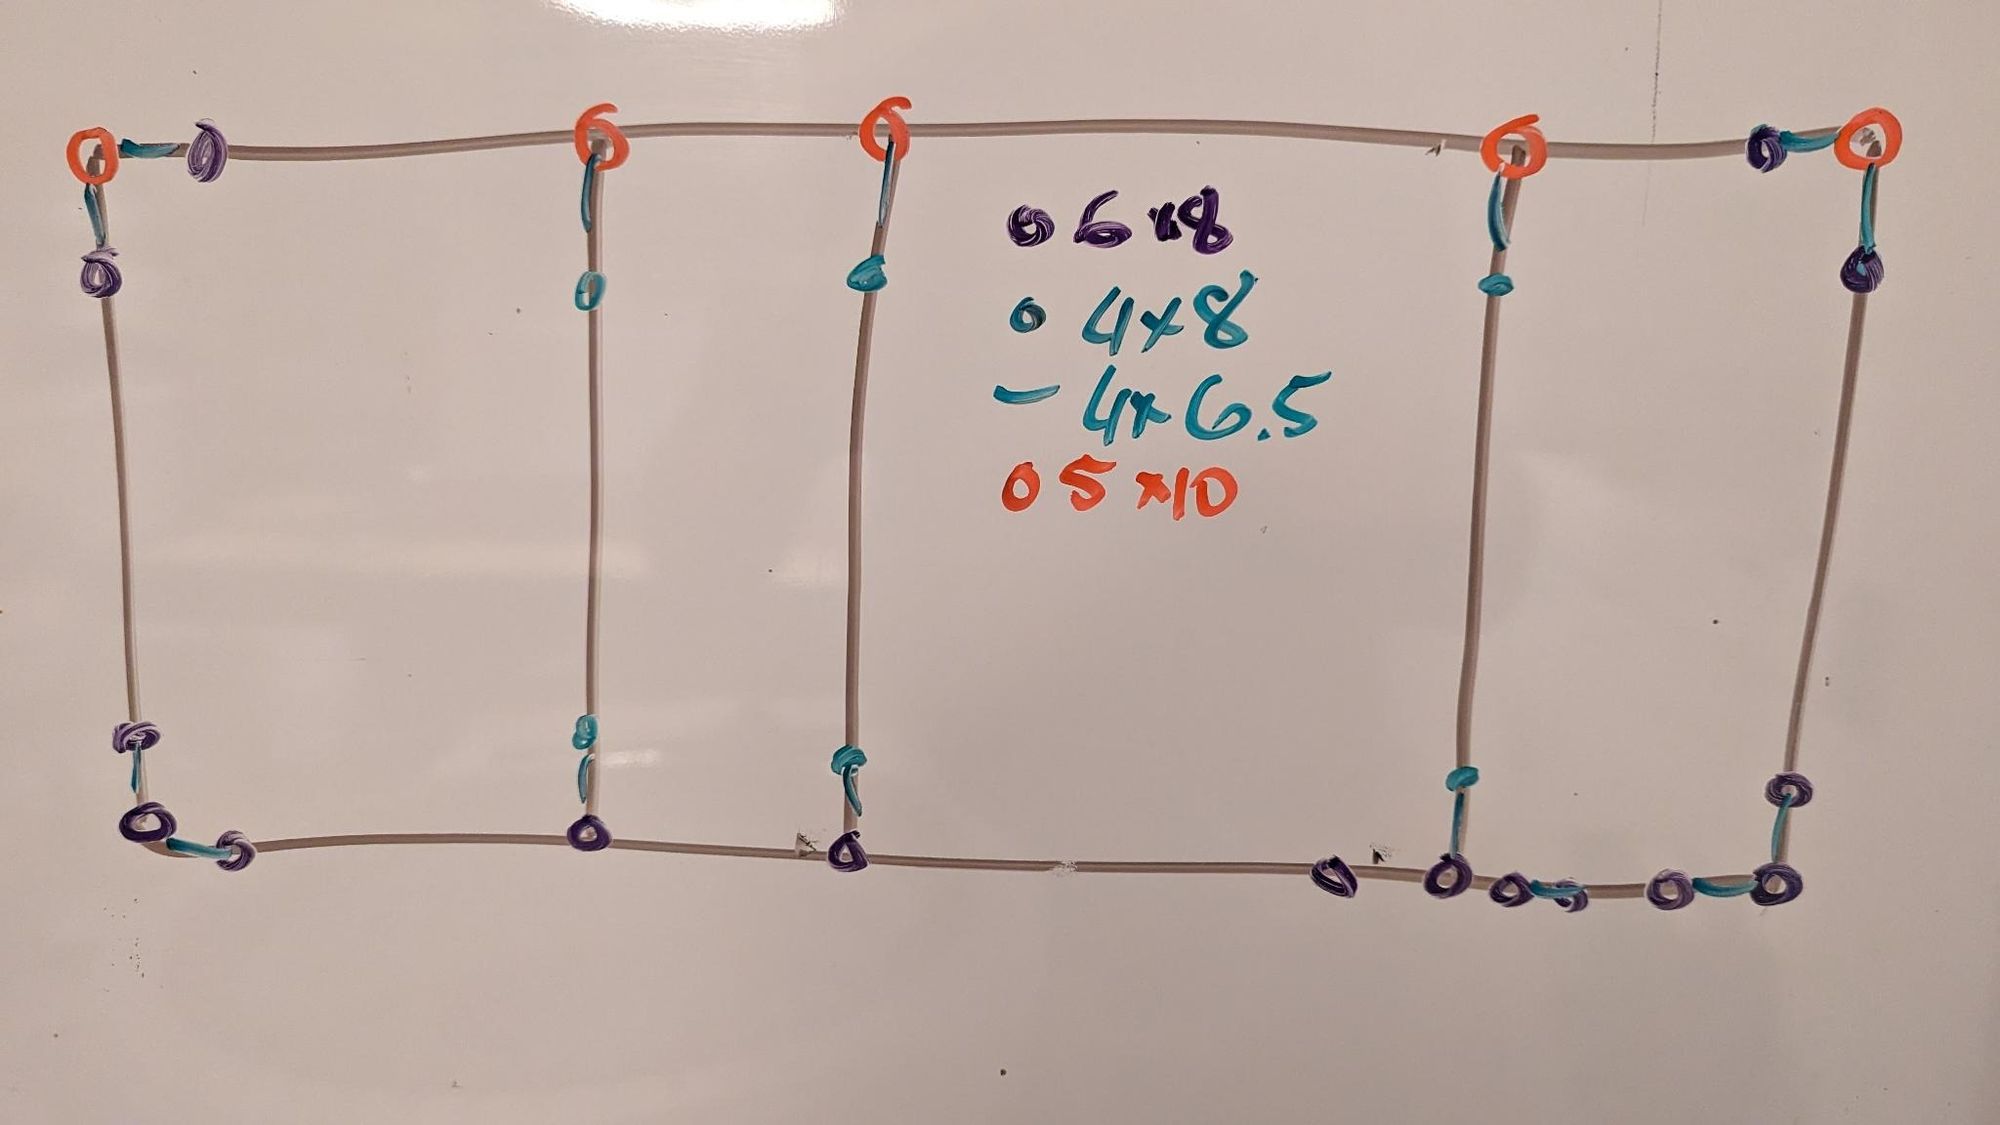
Building a fence is not cheap, and so we are building in phases to space out the expenses and burden on our wallet. In the diagram above, you can see the first phase of our fence build. The red circles are the 7-foot high posts, the purple circles are 5 feet high and 6 inches in diameter, and the green circles are 5 feet high and 4 inches in diameter (they were poles we already had).
The two smaller pens are 20 feet (6 metres) wide, and the two larger pens are 35 feet (11 metres) wide. The width of the entire block of pens is 35 feet, so that the individual pens are 35 feet long. This means that the smaller pens have an area of 700 square feet (66 metres squared), and the larger pens have an area of 1,225 square feet (121 metres squared).
You'll notice in the diagram that there are no additional "purple" posts in front of three of the pens. Only the right-hand pen has all the posts it needs for closing the front of the pen and the gate. This is one of the ways we are spreading the cost out, by only finishing the pen we need, and later coming back to finish the other pens.
We already had 4 of the 5 "red" posts, so we only needed to buy a single additional 10-foot post, which was great because they are about $40 each. We also had three of the "purple" posts, but we still needed 13 more for phase 1. Lastly, we needed 21 short posts for our H-braces.
The Build Process
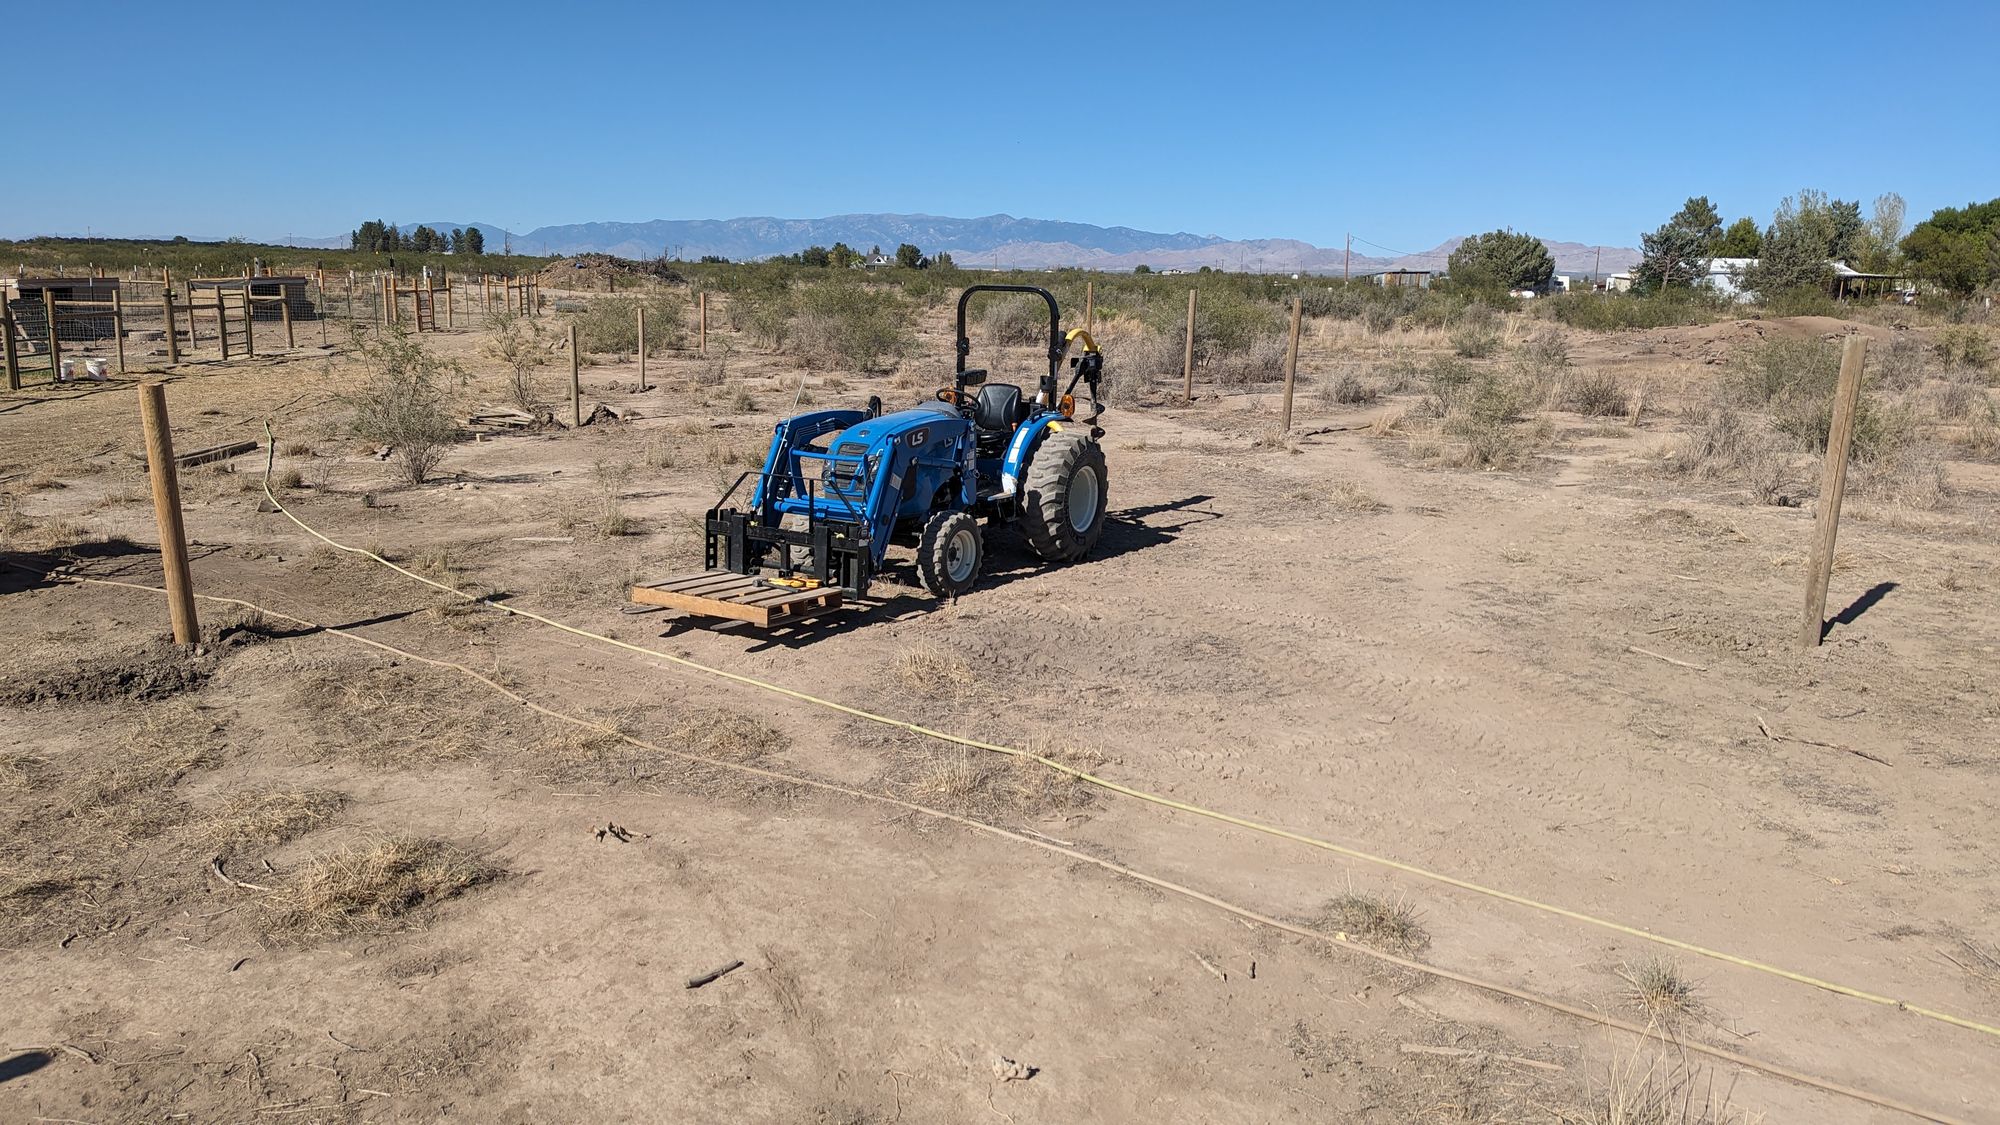
Once we had the design and decided on the scope of the work, we started measuring out where we wanted the pens to be, and where the fence posts needed to go.
Earlier this year Raoul got a new job, and his new salary meant that we could afford something we had wanted to get for a few years: a tractor! Digging the holes for the fence posts was a lot easier now thanks to the tractor. Last year we used a gas-powered auger, and while it was amazing for what it did, it was still a lot of hard work to dig holes.
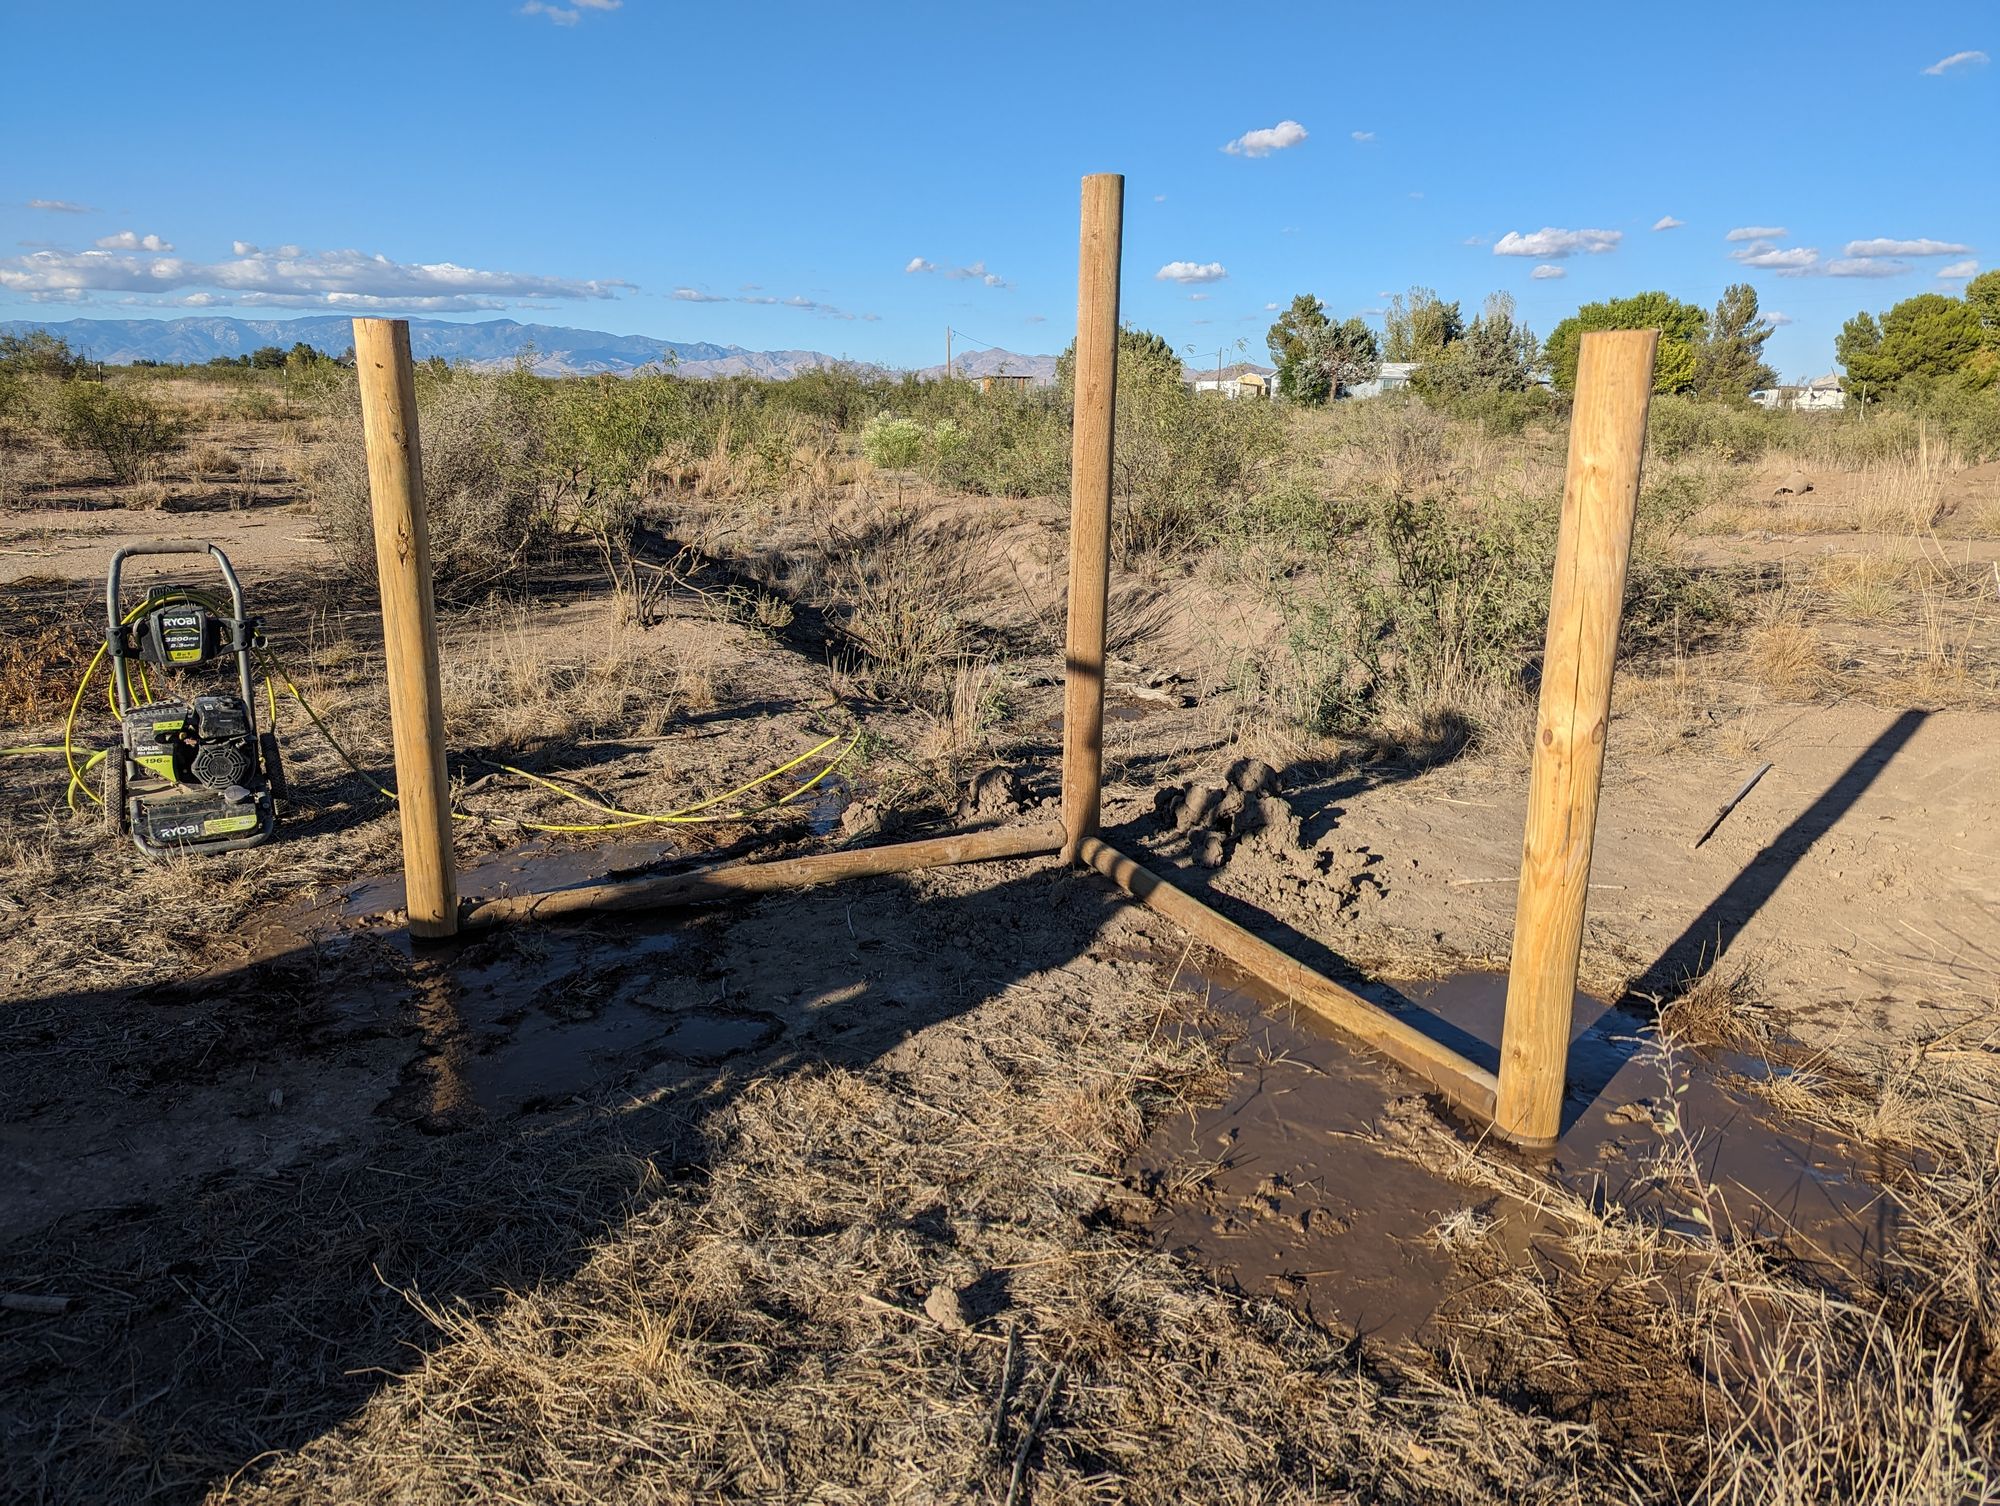
We started by digging the holes for the main outer posts first, the corner posts of all the pens. Once the main outer post holes were dug, we then dug the rest of the holes for the remaining fence posts, as well as for the shelter (see below). The next step was to line up all the fence posts, and secure them in their holes.
Once the posts were all secure, we set up all the H-braces. First we drilled holes in the brace posts, then we drilled holes in the fence posts, and then we used 0.5 inch by 10 inch carriage bolts to secure the brace posts in place. Lastly we used some barb-less wire and 3-foot pieces of rebar to wind up a bracing wire between the vertical posts.
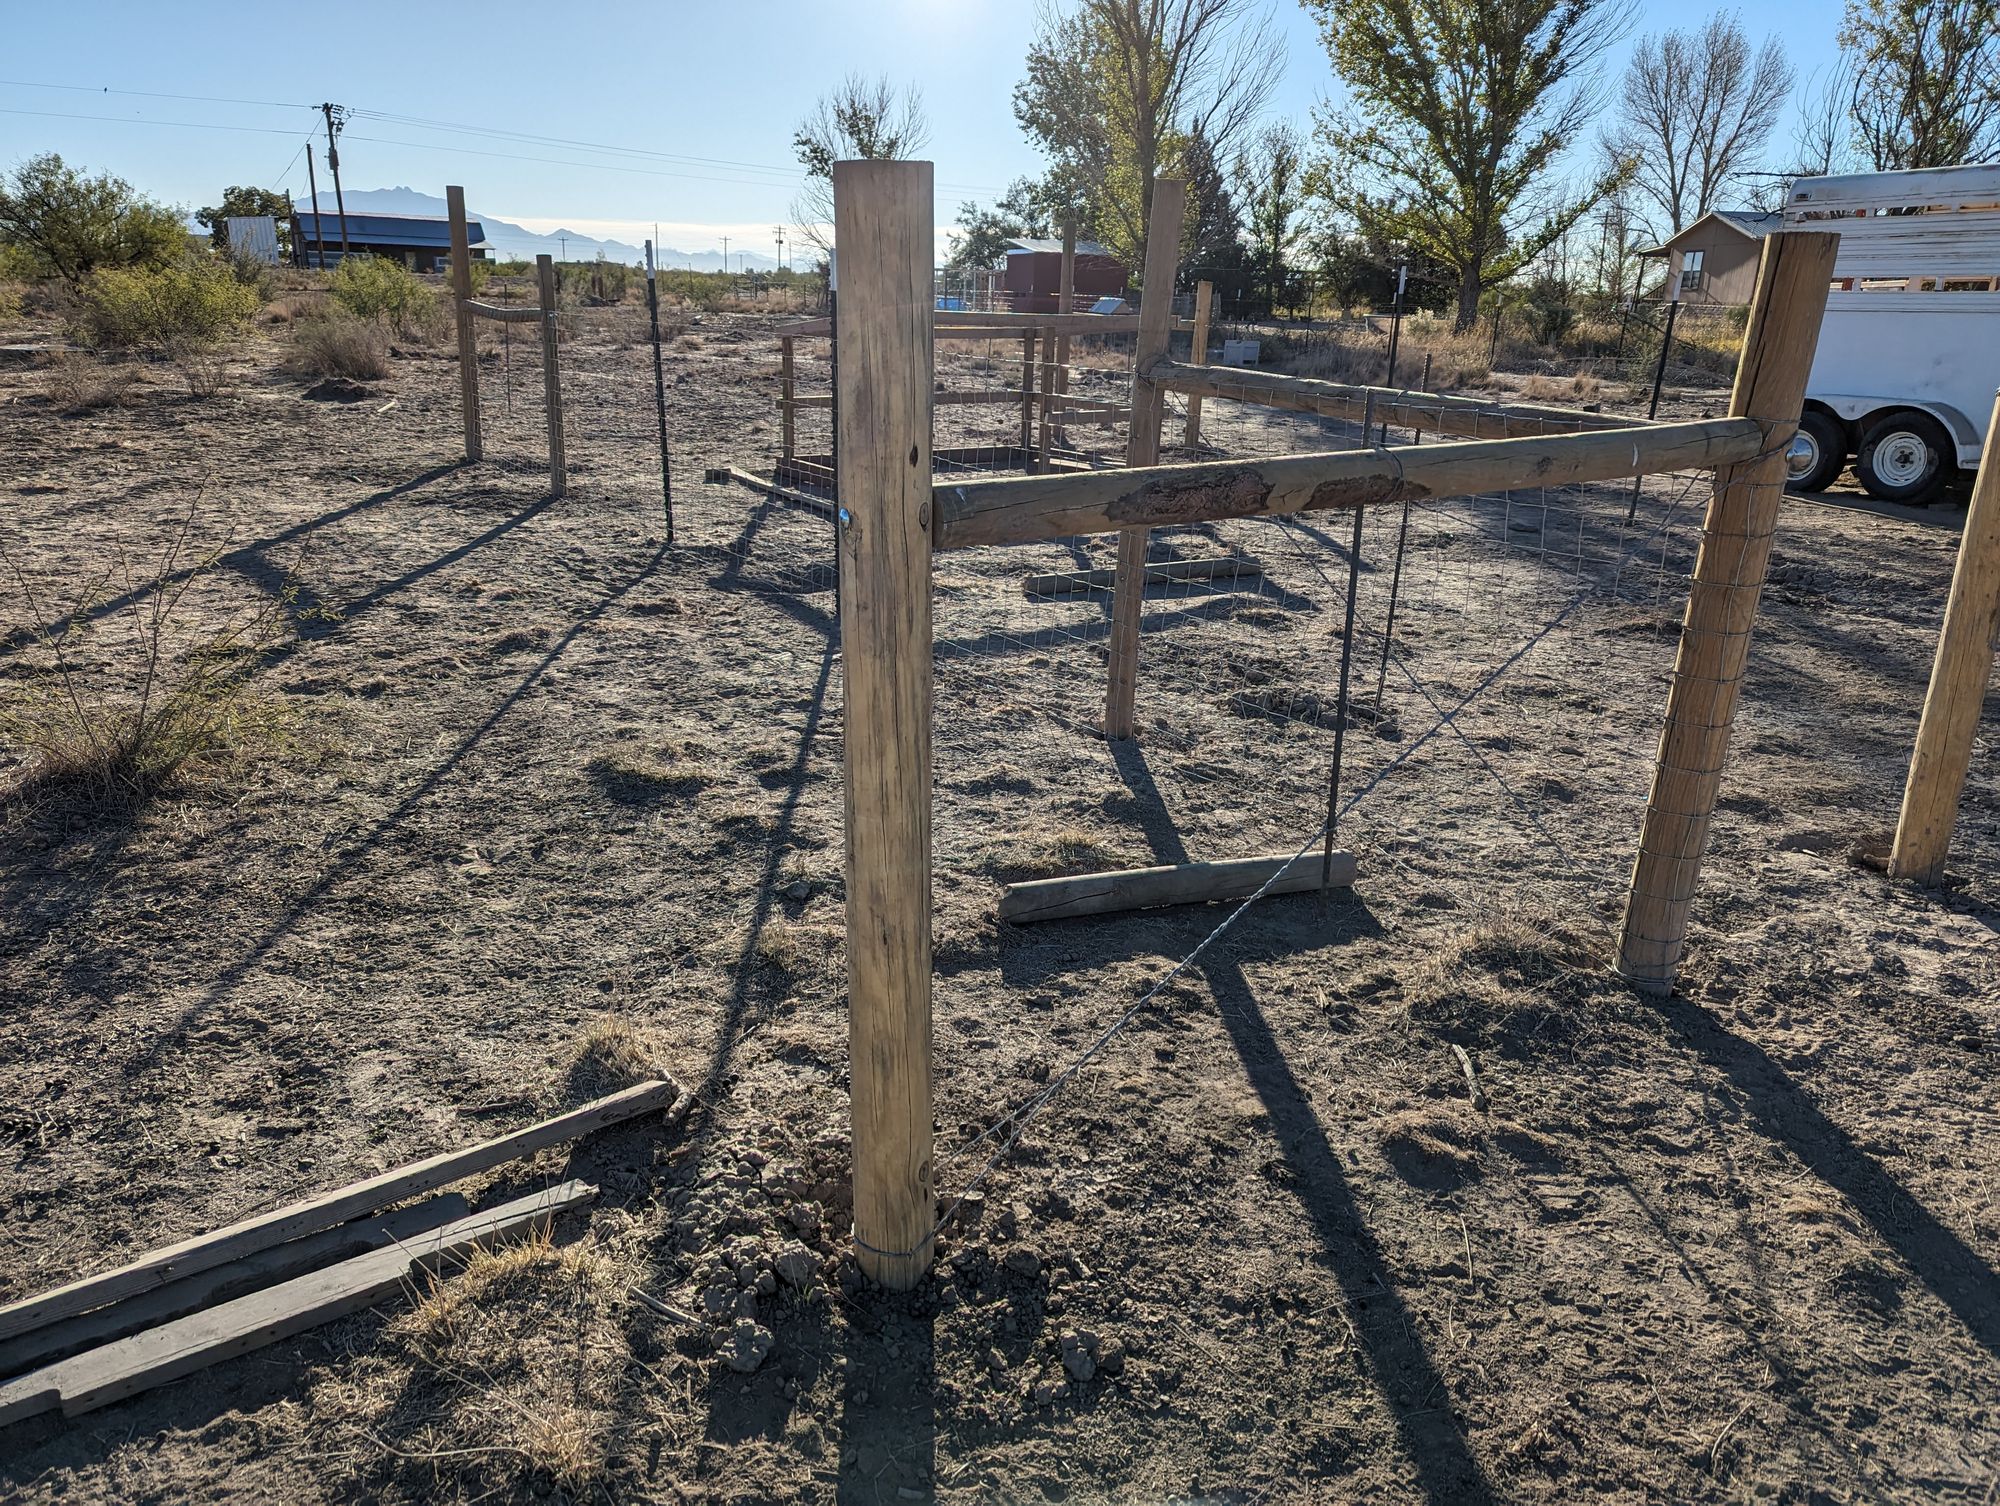
With the H-braces complete, we needed to hammer in T-posts to support the fence. We used 7-ft T-posts and spaced them 7-8 feet apart. This was an awful lot of work, so about halfway through the process we bought a gas-powered T-post driver to make our lives easier.
Finally, it was time to stretch the fences. First we stretched the dividing fences, each a short section which divides up the entire area into separate pens. Then we stretched the fencing around the outer fence posts, all the way from the first pen to the last pen. Lastly we stretched the bit of fencing from the one gate post across to the post that will eventually become a gate post for the second pen.
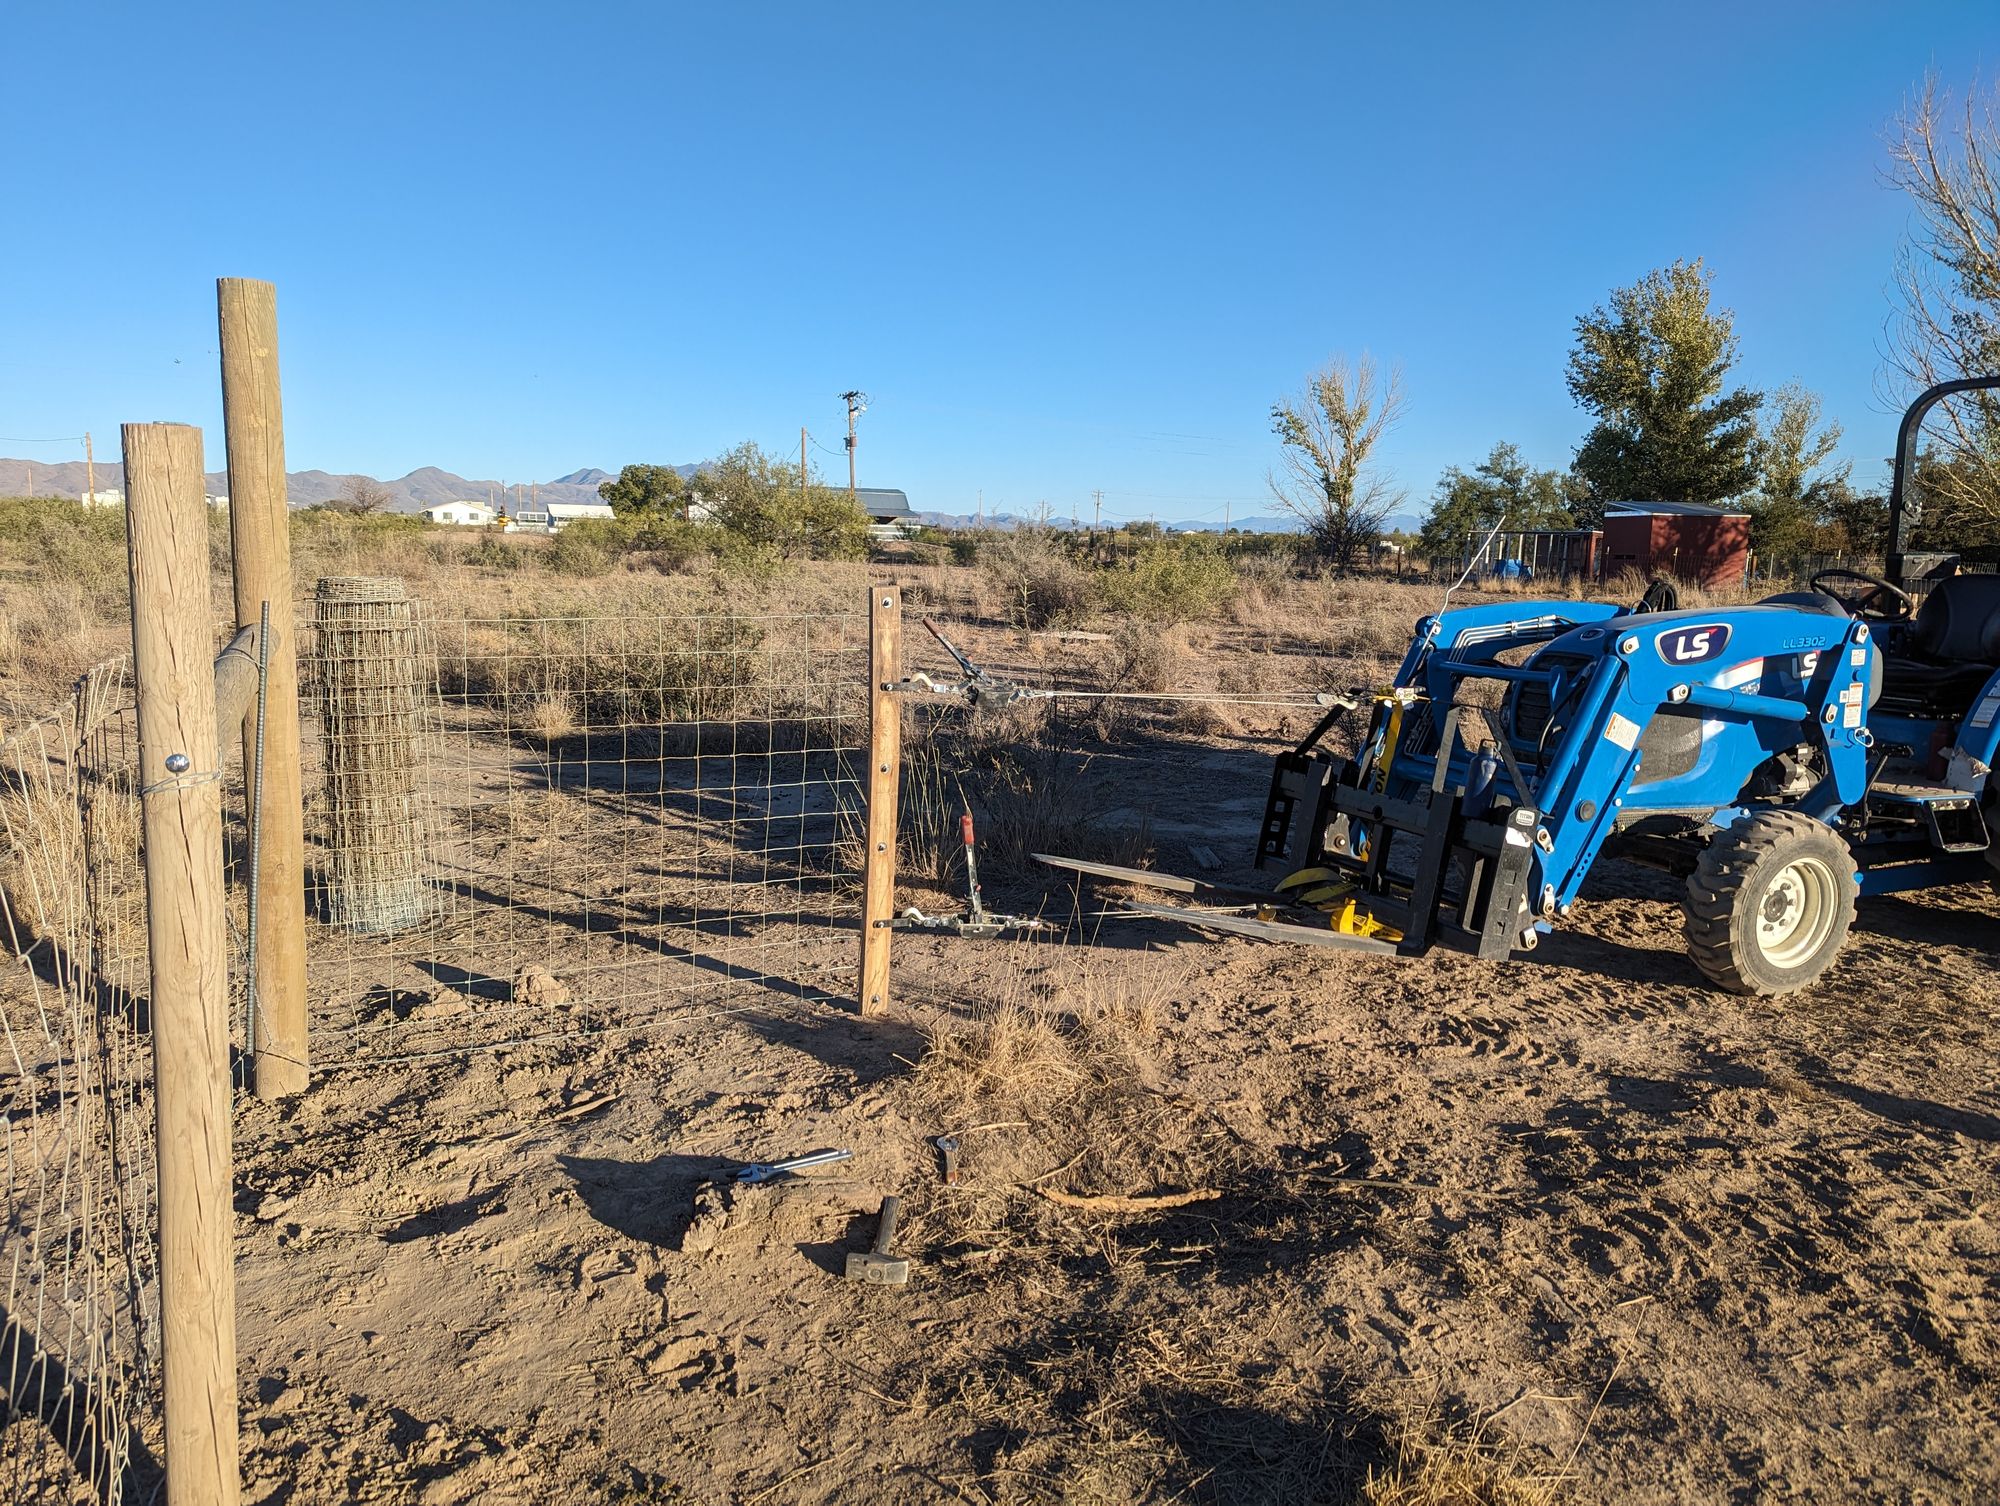
We used OK Brand Sheep and Goat woven wire fencing (sometimes called "hinge joint"), which we buy in 330 foot rolls. Woven wire fencing is a MUST, especially if you have goats. It allows the goats to climb up the fence a bit without breaking it.
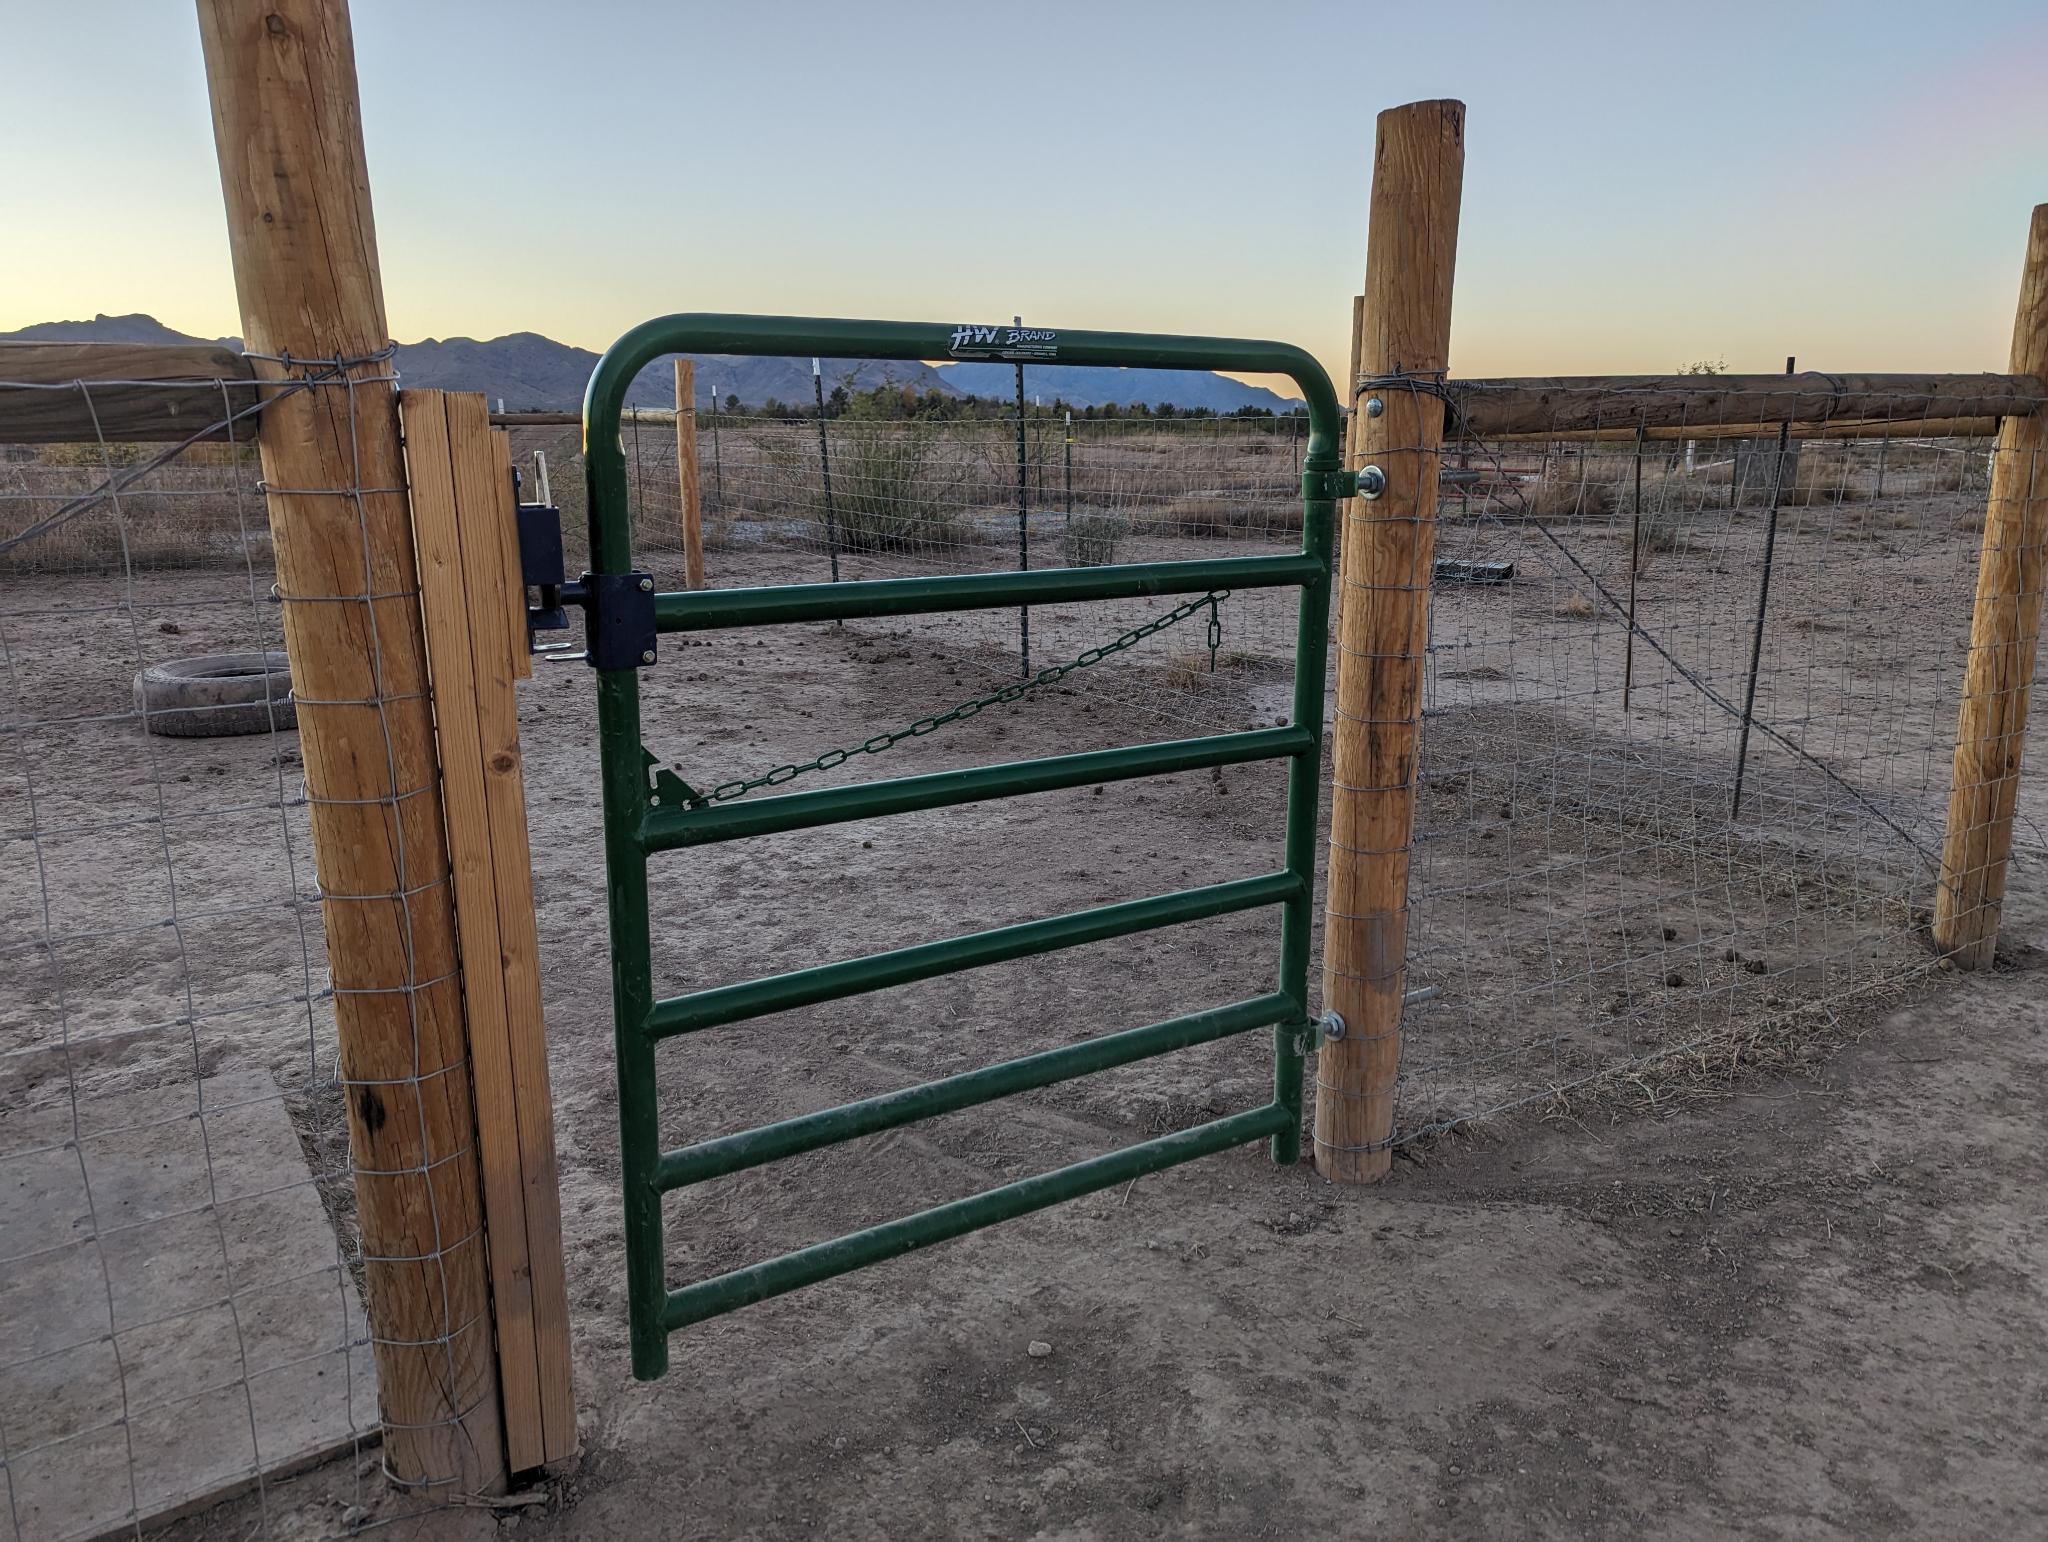
Lastly, it was time to hang the gate. This was the easiest part by far! The only tricky part is getting the holes for the gate pins level and aligned. With the gate hung we added the latching system by screwing a 2x4 to the other gate post, and then securing the latch to the 2x4. We love the 2-way latches from SpeeCo.
Pens vs Pasture
As you can no doubt see in the photos above, Arizona is made of dirt. We don't have pasture, and especially in a dry year like 2023, we get very little vegetation growing, and very few trees.
If you have pasture, that's a great option for your pigs, but in our circumstances pens make a lot more sense. In comparison to the recommended spacing for hogs, our pigs have plenty of space to run around and be pigs.
Over to You
This method of building pens and fences works well for us, and is generally affordable compared to other options. The fences are suitable for both our pigs and our goats, as well as any future livestock we may get.
What about you? Have you built pens and/or fences? Do you have a method that works well for you? Leave us a comment below!